The Thumb Position Path · By Cole Davis
Play two octaves at the top of your bass without a single shift. Then solo up there like a horn player.
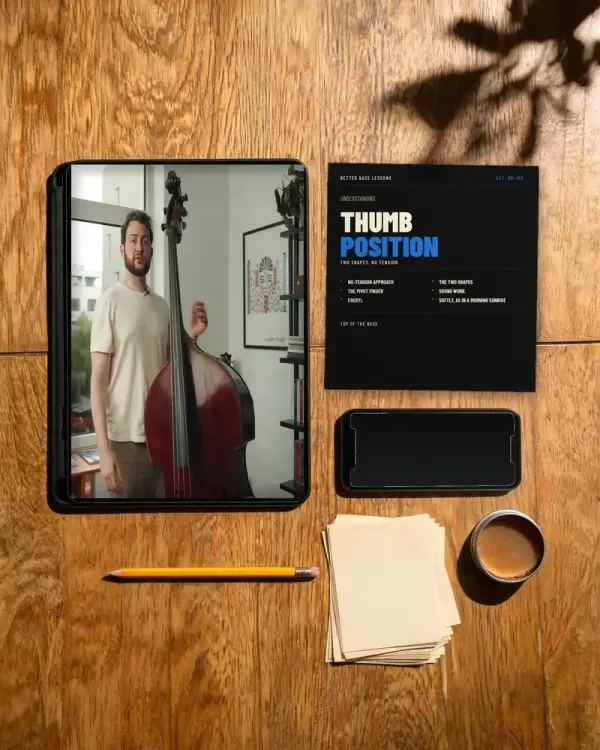
Understanding Thumb Position · Freedom of Movement · Soloing in Thumb Position
My whole thumb position path, in order: the video course that makes the top of the bass comfortable, the method book that gets your thumb off the anchor, and the masterclass that puts it to work over Cherokee. $137 for all three.
One payment · All three courses
Get all three for $137One payment · Lifetime access to the video course, the book and the masterclass, with every PDF · Money-back guarantee on every part
Most upright players only visit the top of the bass.
They climb past the octave, play the last few notes of a scale and head straight back down. If that's you, it isn't your hands. Yours are most likely big enough. It's two habits, and you were taught both of them.
The first is the squeeze. The bass comes off your left knee and leans on your shoulder. Your hand starts holding it up. Then your arm. Then your neck. You crouch. You pin down fingers that don't need to be down. Your thumb hurts. And your sound goes pinchy and choked up there, so it doesn't carry.
The second is the box. Most of us learned thumb position as the top of a scale. One shape, on the top two strings, with the thumb parked on the harmonic like an anchor. And you can hear it in every melody you play up there:
“That's what happens when you put your fingers in a box. It sounds like they're in a box.”
Here's my admission. Before I wrote Freedom of Movement, I played the same three or four licks in thumb position. I wasn't the only one.
And here's the fact that should make you angry on your own behalf:
“Most great solos in jazz are not playable in standard thumb position.”
The classic method teaches it the boxy way for a real reason. That's what orchestral excerpts call for. I've played in orchestras. I understand the job. But that's probably not your job.
Nobody showed you the second shape. Nobody told you the thumb can move. I got that answer from basketball, and it's the thread that runs through all three of these.
My whole thumb position path, in order.
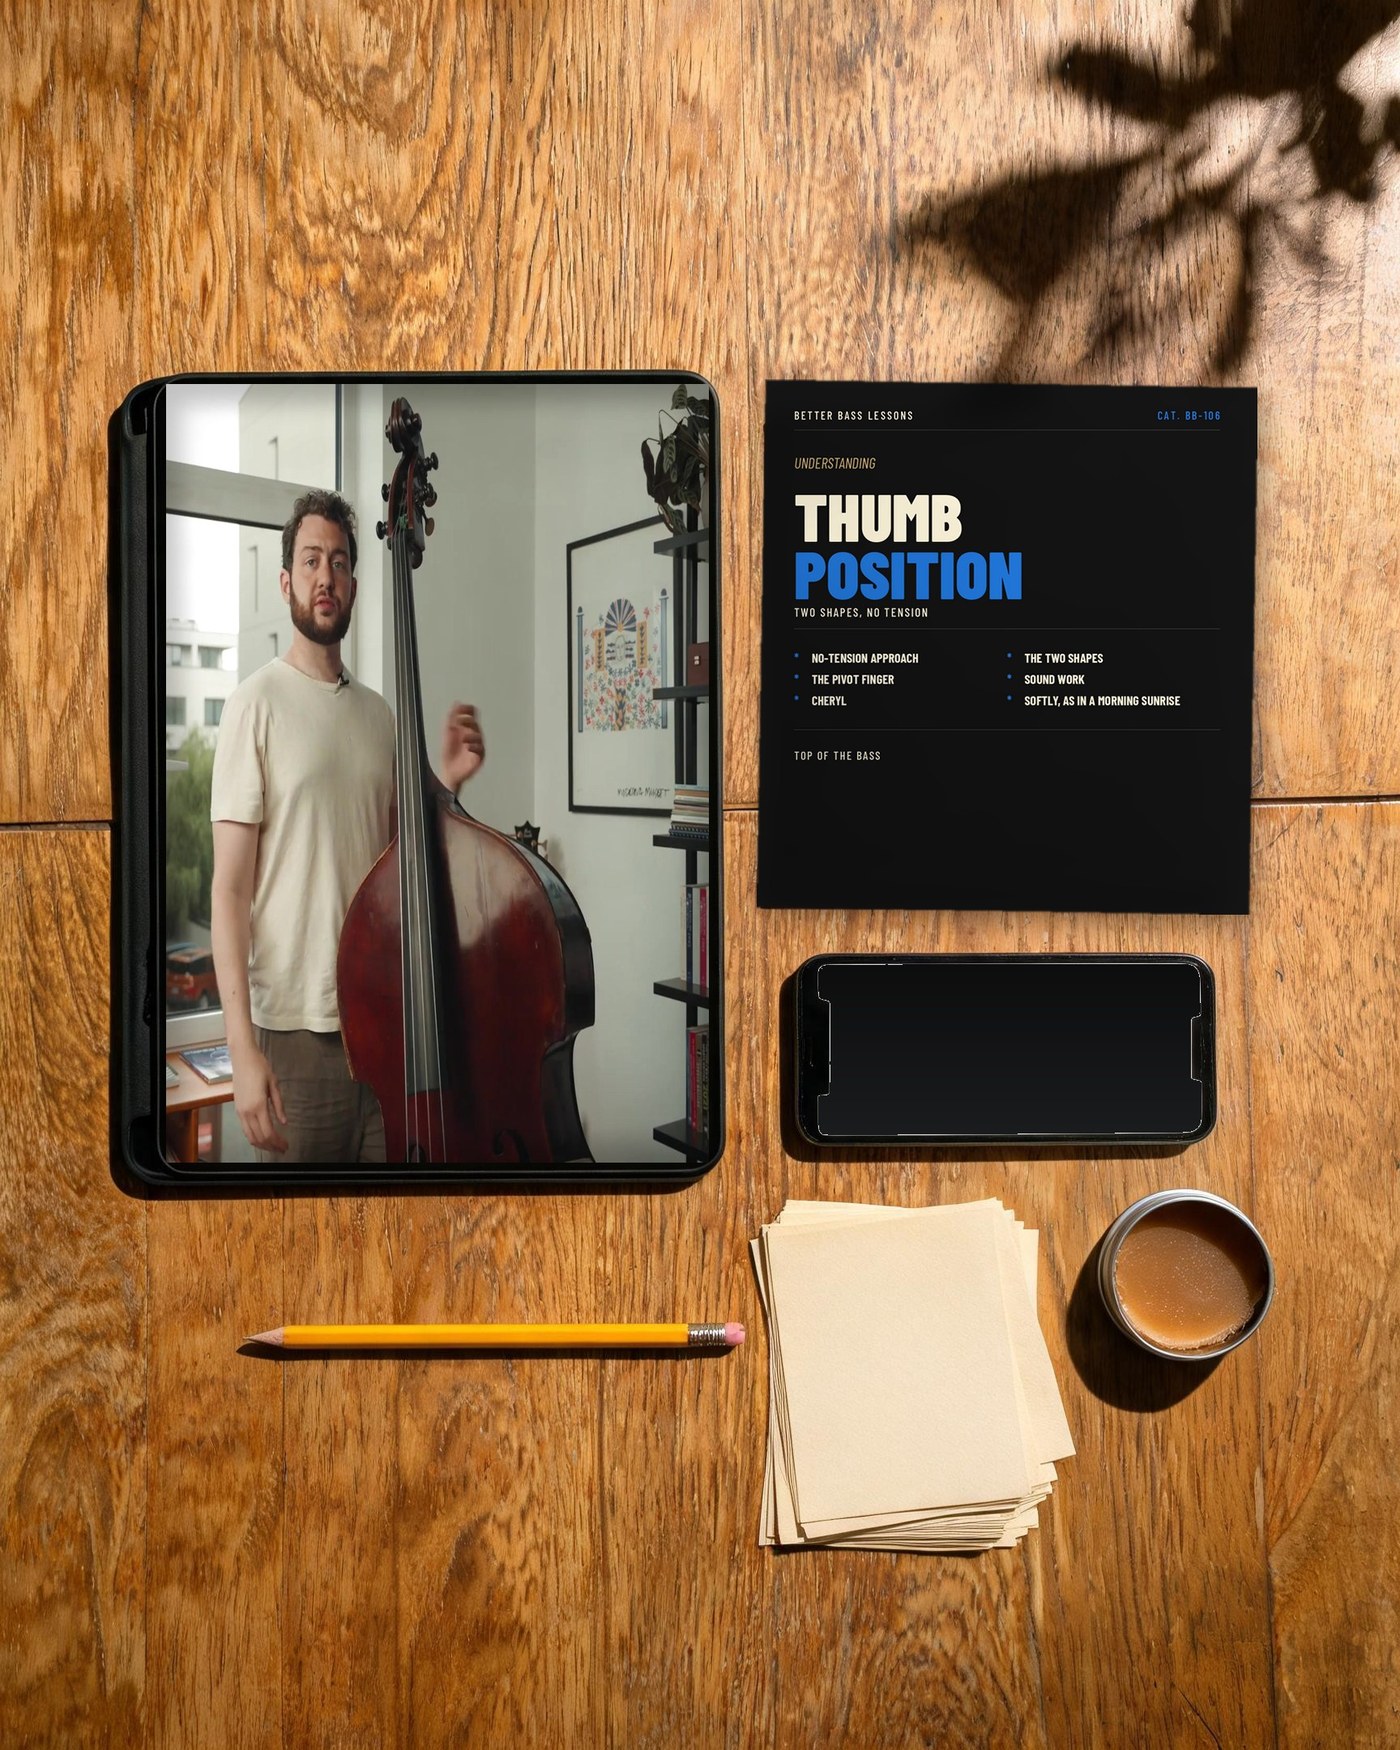
Understanding Thumb Position
A video course: an intro and 14 lessons, about an hour, in order. You start with how your body's positioned on the bass, before a single note, and finish improvising on a standard. Plus the full-length course video, about 69 minutes, which is the only place you'll find the arpeggio work and a finger-strengthening drill.
- ✓The posture I compare to “the first half of a swing.” (A lot of people do the opposite up there. That's where the back and shoulder trouble comes from.)
- ✓My “five times” rule, the check that your hands and arms are free of tension. (Lesson 1.)
- ✓The two fundamental shapes, and the one you most likely never got taught.
- ✓Why I start thumb position on the E string instead of the D.
- ✓Two octaves of E flat major without a single shift. (Down low it costs me three. Lesson 3.)
- ✓The biggest sound mistake players make up there. (It sounds loud to you. From 30 feet away, you can't hear it at all.)
- ✓Charlie Parker's Cheryl, then Softly, as in a Morning Sunrise, and how to turn a melody's fingering into a path for improvising.
Freedom of Movement
My thumb position method book, updated edition: a 44-page PDF with 15 etudes, every one fingered note by note and followed by my written walkthrough of its key phrases. Read it in your browser or download it.
- ✓Eight etudes on jazz standards: Miss Jones, All the Things, Stella, Dolphin Dance (based on Eddie Gomez's solo from Bill Evans's recording), Inner Urge, Stablemates, Moment's Notice and the Cherokee Challenge.
- ✓Seven technique etudes, including “The Pivot Finger,” “Freedom of Direction” and “Sideways,” a whole etude on 4ths.
- ✓The first etude leaves the standard fingering in bar 4. (Page 5 says why.)
- ✓The best pivot finger, and the two things it frees up at once. (Page 30.)
- ✓How to use the thumb as a capo. (Page 36 names the exact line of notes it sits on.)
- ✓The one scale that, once you can play it up there without a shift, gets you around the whole position by pivoting alone. (Page 37.)
- ✓The bar in Moment's Notice that comes straight from Coltrane's solo on the original recording. (Page 22.)
It's advanced, and I say so in the book. That's why it's step two.
Soloing in Thumb Position
The masterclass: 8 video chapters that demonstrate the Freedom of Movement system on the bass, on the tunes you actually want to burn on.
- ✓The fingering that traps your hand up high, and the two combinations that replace it. (Chapter 1.)
- ✓Pivoting instead of shifting: which fingers stay planted and which ones move. (Chapter 2.)
- ✓How to get into thumb position from the lower register without the awkward back-and-forth. (Chapter 4.)
- ✓Cherokee, including the note for that A♭7 that the standard fingering can't reach. (Chapter 5.)
- ✓Fourths, the lines you thought were off-limits, worked on the Ornithology melody. (Chapter 6.)
- ✓Playing outside: scale pathways over a B♭ blues and an E♭7. (Chapter 7.)
- ✓Why playing lighter, not harder, gives you a bigger sound up high. (Chapter 8.)
Each page already points to the one before it.
Freedom of Movement tells anyone new to thumb position to start with Understanding Thumb Position. I point readers to it twice in the book, because it's the easier place to begin. Soloing in Thumb Position asks for thumb position you already have, and it teaches the system from the book.
So the path runs one way.
Understanding Thumb Position gets you comfortable up there: posture first, then the two shapes, the E string and your sound.
Freedom of Movement is where the thumb stops acting like an anchor. It's on the page, fingering by fingering, with a walkthrough for every etude, so you can work it at your own pace.
Soloing in Thumb Position is the same system on camera, applied to soloing over real changes: Cherokee, Moment's Notice, fourths and outside playing.
The book and the masterclass share a system, and they do different jobs. The book gives you all 15 etudes and my written explanation of every key phrase. The masterclass lets you watch my hands and hear what it sounds like at tempo.
One is the map. The other is the drive.
“If you want to have a voice on an instrument, it helps to know the whole instrument.”
Built for the upright player who heads straight back down.
Upright players who can play in half position, avoid everything above the octave or head straight back down, and want to solo up there instead of playing the same three or four licks.
One payment. $137 for all three.
You keep $54. One payment, lifetime access to the video course, the book and the masterclass, with every PDF. No subscription.
You keep $54
One payment · Lifetime access to the video course, the book and the masterclass, with every PDF · Money-back guarantee on every part
Every part keeps the money-back guarantee on its own page: 30 days for Understanding Thumb Position and Freedom of Movement, 7 days for Soloing in Thumb Position.
“It's really not harder, it's just sideways!”
Questions before you buy.
It was never your hands.
From here, it's a choice.
You were handed one shape, on two strings, with your thumb nailed to the harmonic. Then you were told the top of the bass is hard. It's not harder. As I wrote on page 33 of the book: “It's really not harder, it's just sideways!”
$191 separately · $137 for all three
Video course · Method book · Masterclass · Lifetime access
Here's everything you get.
One payment · Lifetime access to the video course, the book and the masterclass, with every PDF · Money-back guarantee on every part
Start the path: $137P.S. Here's a test you can run before you decide. Pick up your bass and play an E flat major scale in the lower positions. Count your shifts. I count three. Now try to play two octaves of it in thumb position without shifting at all. I do it on camera in Lesson 3 of Understanding Thumb Position. If you can't do it yet, you're where most of my students are when they first ask me about thumb position. That's where the path starts.
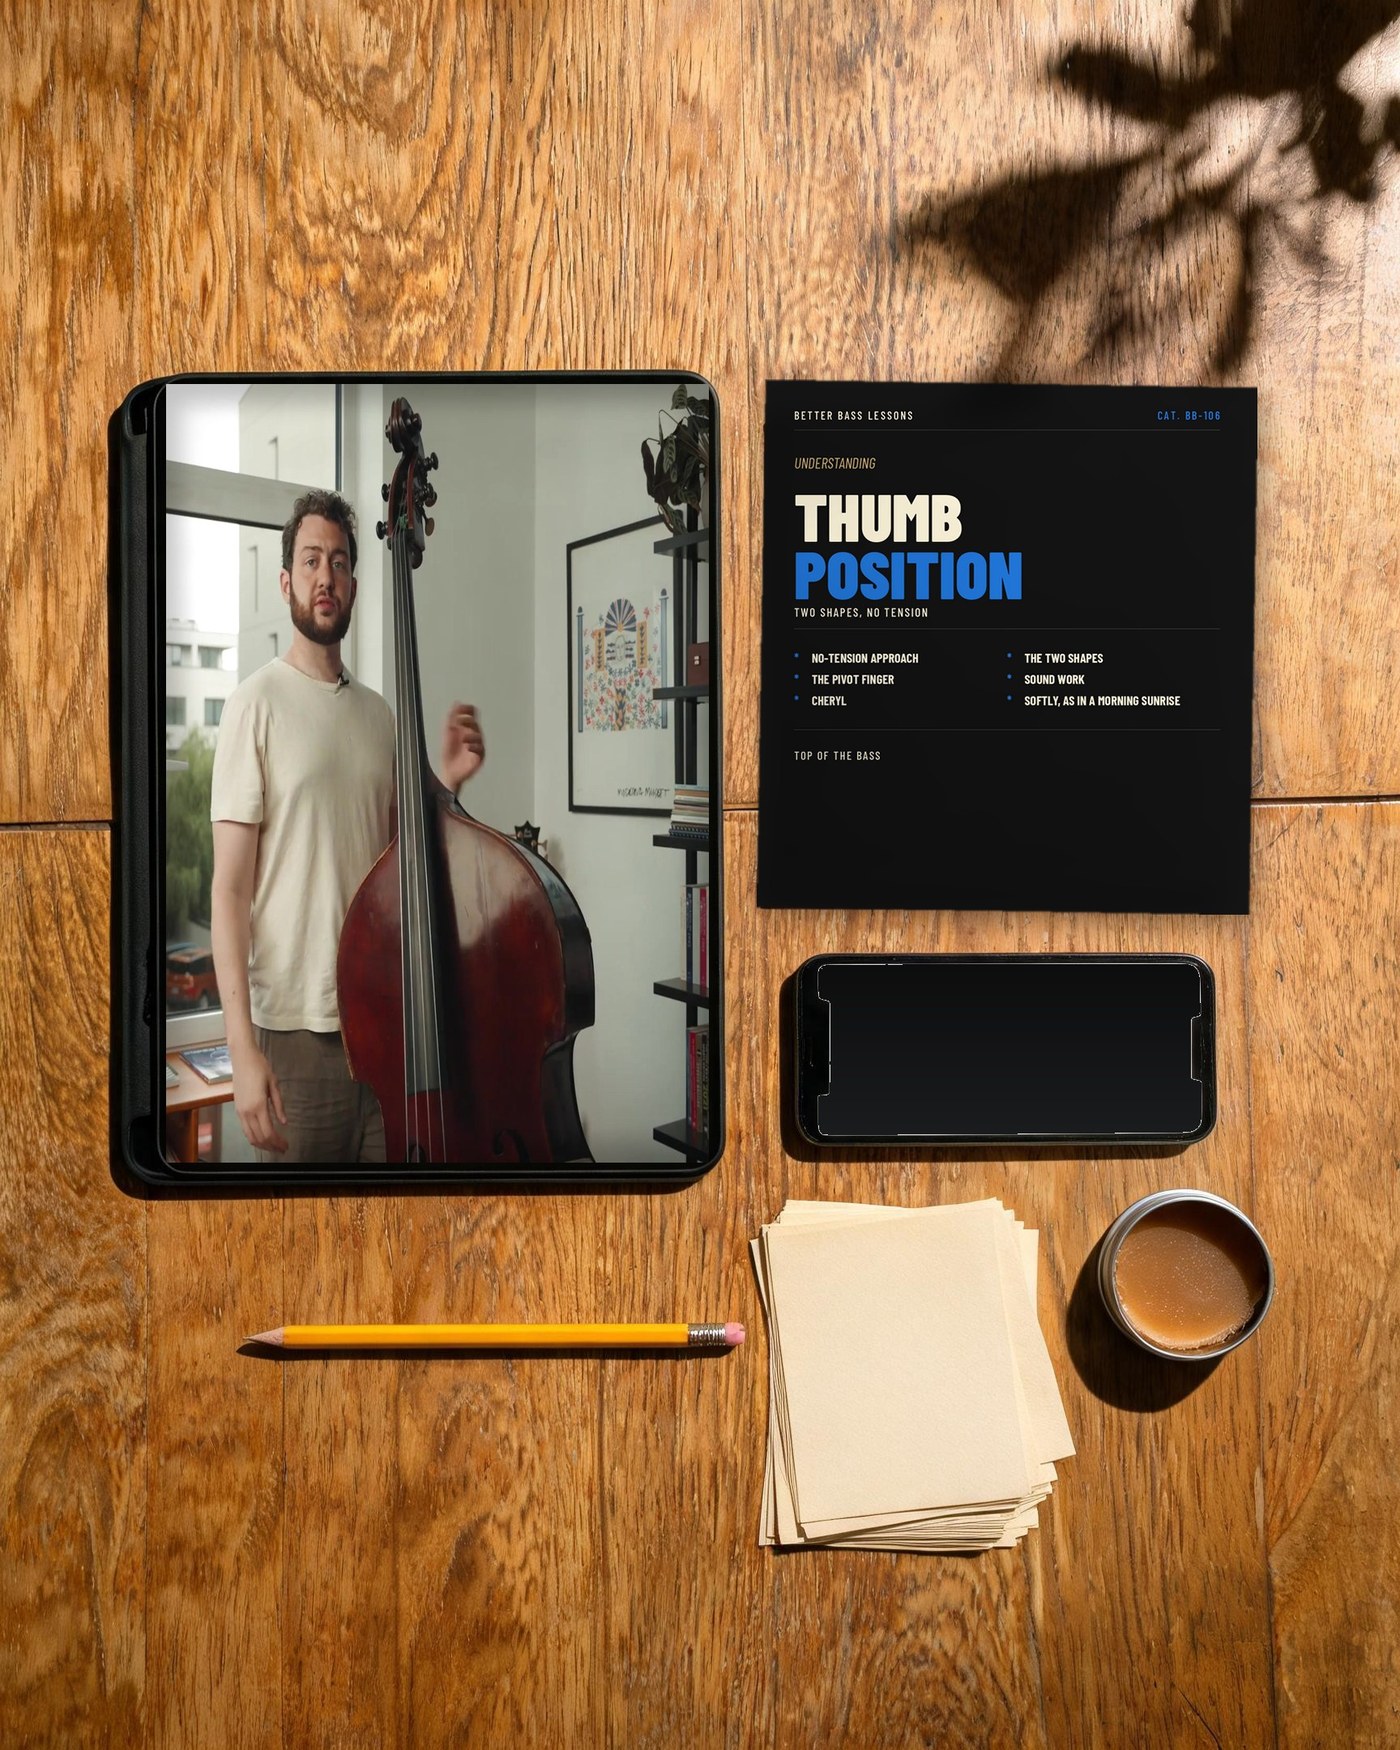
Thumb Position Path (3-Course Bundle)
$137.00
Quantity